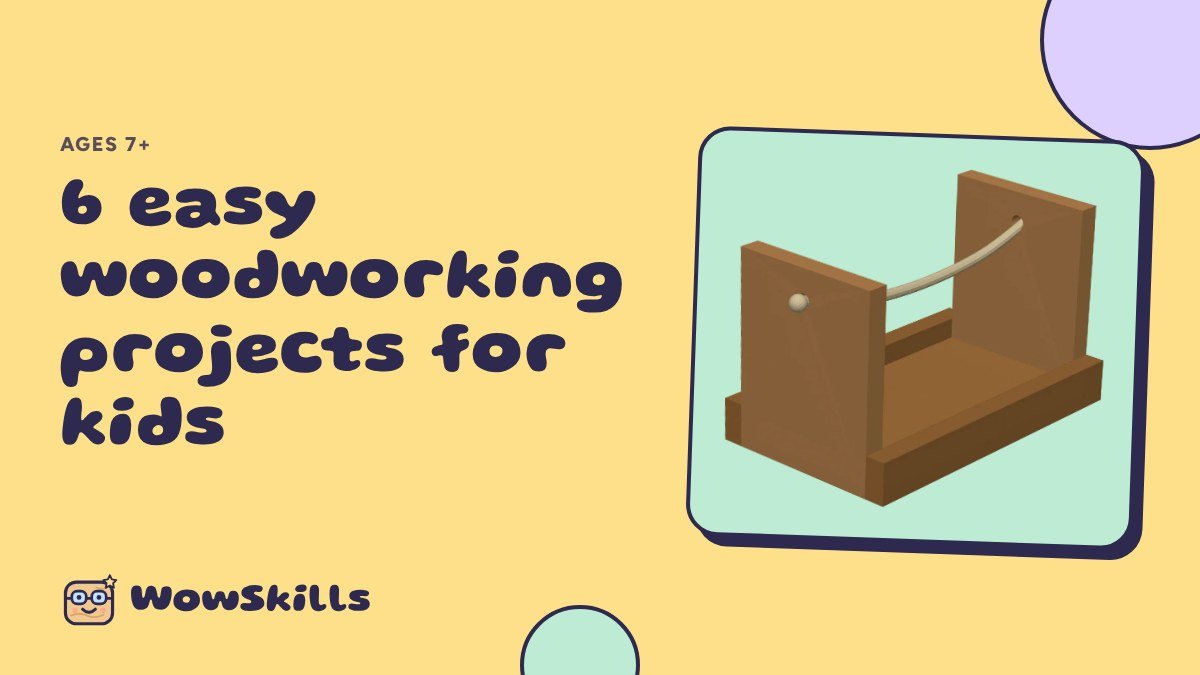
Looking for a weekend project with your kids? These six woodworking projects are easy enough for ages 7 and up, and every one of them becomes something your child can use or play with. Each project needs only hand tools, some pine and a little patience.
Before you start, set up a safe work space: safety glasses for everyone, a clamp to hold the wood, and a clear table. Then pick a project and go.
Which one first? If your child has never used a saw, start with the toolbox or the bird feeder. Both use simple straight cuts and a hammer, and they finish in an afternoon. The race car and the robot add drilling and screw eyes, so they make a great second project. Save the marble maze for last: it takes the most planning and patience, and that is exactly what makes it so satisfying when the marble finally rolls through.
Pine is the best wood for kids. It is soft, light and easy to cut, and most hardware stores in Kitchener-Waterloo sell small boards and dowels. Ask the store to make the long cuts for you, so your child can focus on the fun parts.
1. Mini toolbox
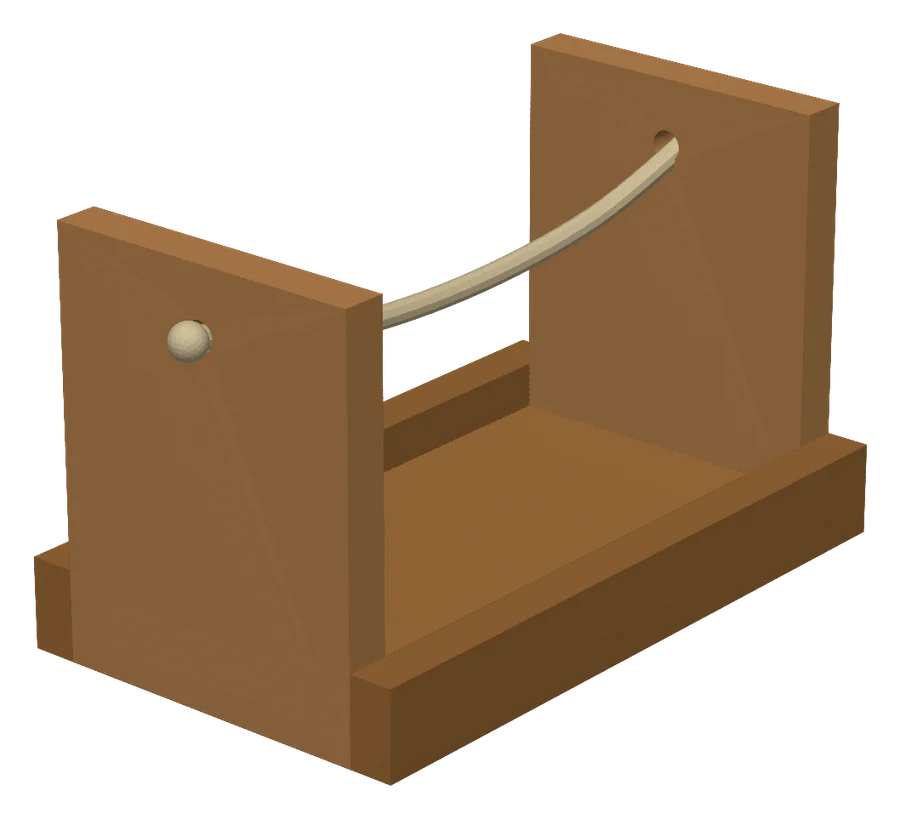
What you need: Thin pine boards, a short length of rope, wood glue, small nails, a hammer, a saw in a miter box and some stain.
- Measure and cut the ends, sides and bottom.
- Drill a hole near the top of each end for the rope.
- Glue and nail the box together, checking that it is square.
- Thread the rope, tie a stopper knot on each side, then stain it.
What kids learn: Measuring, sawing, nailing, building a square box and tying a stopper knot.
2. Bird feeder
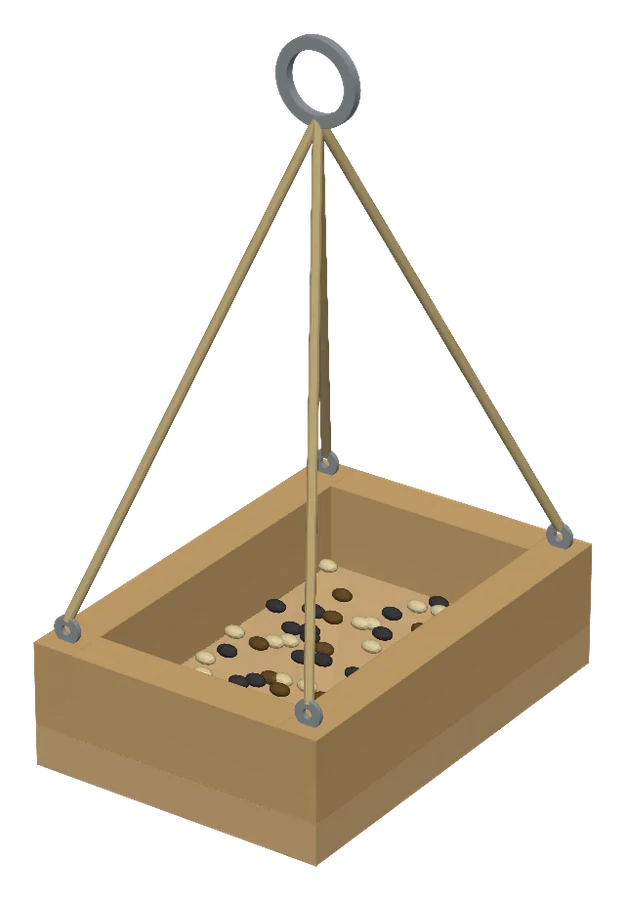
What you need: A thin board for the base, four small rails, glue, small nails, four screw eyes, string and bird seed.
- Cut the rails and sand them.
- Drill a few small drain holes in the base.
- Glue and nail the rails around the edge, then add a screw eye in each corner.
- Tie the strings to one ring, fill with seed and hang it where you can see it from a window.
What kids learn: Using a hand drill and hammer, tying knots, and learning which birds visit Ontario backyards in winter.
3. Mini cornhole
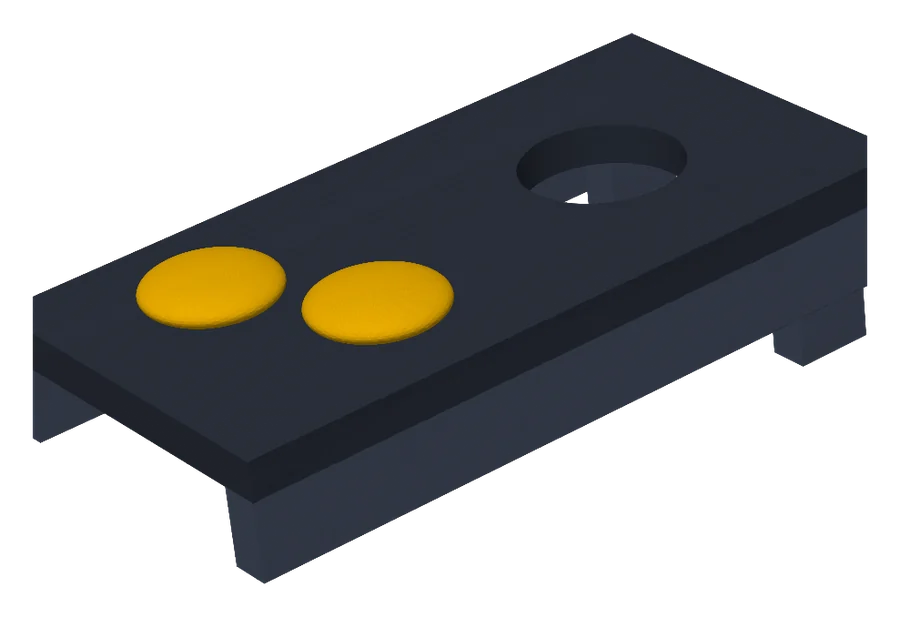
What you need: A small board for the top, thin rails, glue, nails, a hole saw or a pre-cut hole, paint and a few bean bags.
- Cut the top and rails to length.
- Make the hole (an adult can do this step with a hole saw).
- Glue and nail the rails under the top so it slopes a little.
- Paint it, let it dry, then hold a family tournament.
What kids learn: Straight cuts, safe hammering, joining wood and keeping score fairly.
4. Block robot
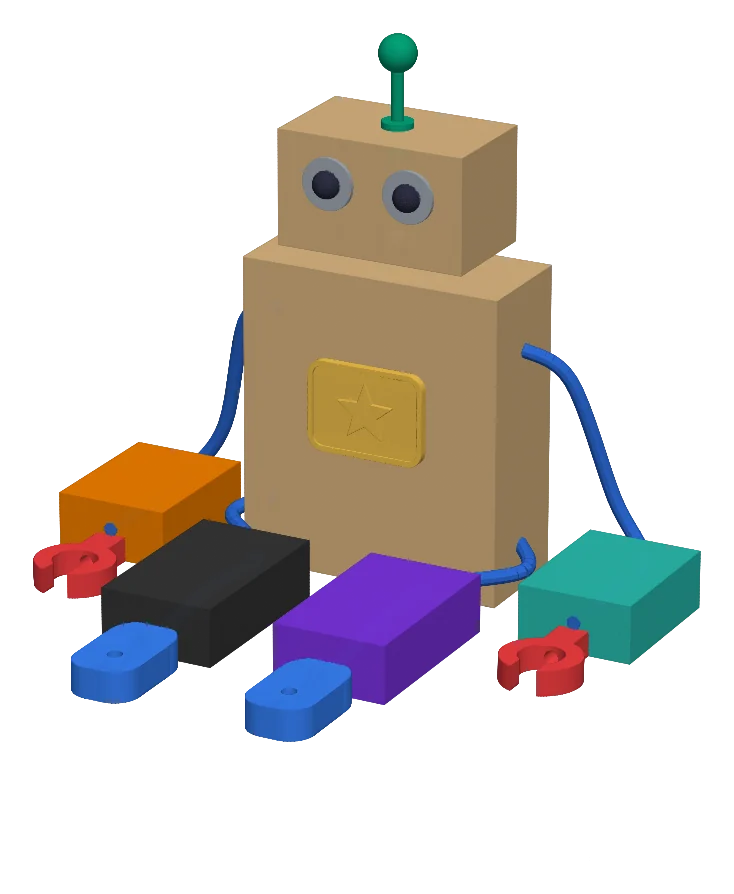
What you need: Wood blocks for the body and head, rope, screws and washers, a hand drill and paint.
- Cut the body and head blocks and sand them.
- Drill holes for the arms and legs.
- Screw in washers as eyes, then paint the robot.
- Lace rope arms and legs through the holes and tie stopper knots.
What kids learn: Drilling, using a screwdriver, tying knots and giving a project its own personality.
5. Race car
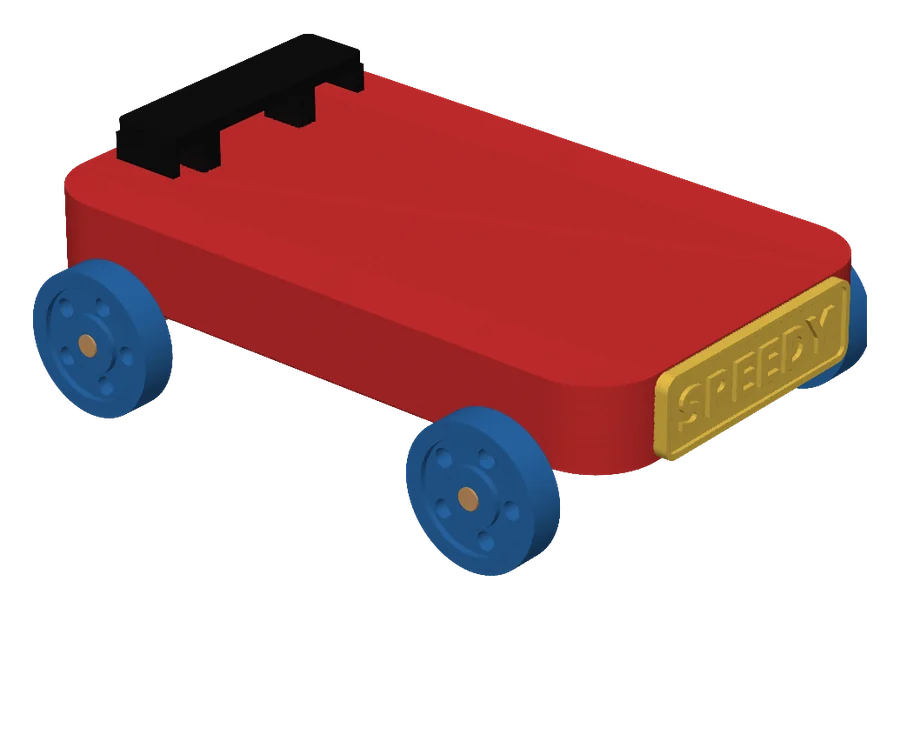
What you need: A block of pine, two wooden dowels for axles, four wheels, screw eyes, sandpaper and paint.
- Sand the block into a car shape.
- Twist in screw eyes underneath to hold the axles.
- Cut the dowel axles to length and slide them through.
- Push on the wheels and race it down a ramp.
What kids learn: Wheels and axles, ramps, gravity and weight, and how small changes make a car faster.
6. Marble maze
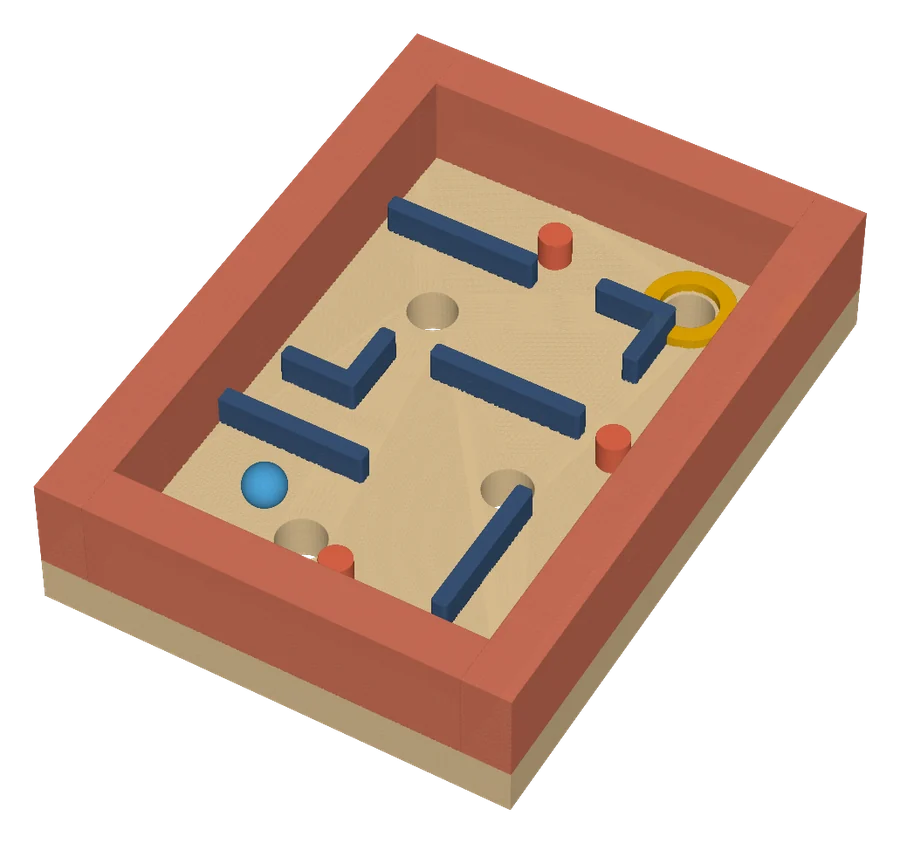
What you need: A thin board for the tray, thin strips for the walls, glue, small nails and a marble.
- Build a tray with low sides.
- Plan the maze on grid paper first.
- Cut the walls and glue them in place, leaving a few holes as traps.
- Test it, fix the tricky spots, then challenge a parent.
What kids learn: Planning before building, patience, hand control, and testing and fixing a design.
Tips for a happy build
- Do the hard cuts first, while everyone is fresh.
- Let your child do the work, even if it is not perfect. The pride comes from doing it themselves.
- Keep the session short: about an hour is plenty for most kids.
- Leave paint and glue to dry overnight, then finish the next day.
Build these with us
We teach projects like these in small weekend classes in Cambridge, with real tools and all materials included. Want a party where every guest builds? See birthday build parties.