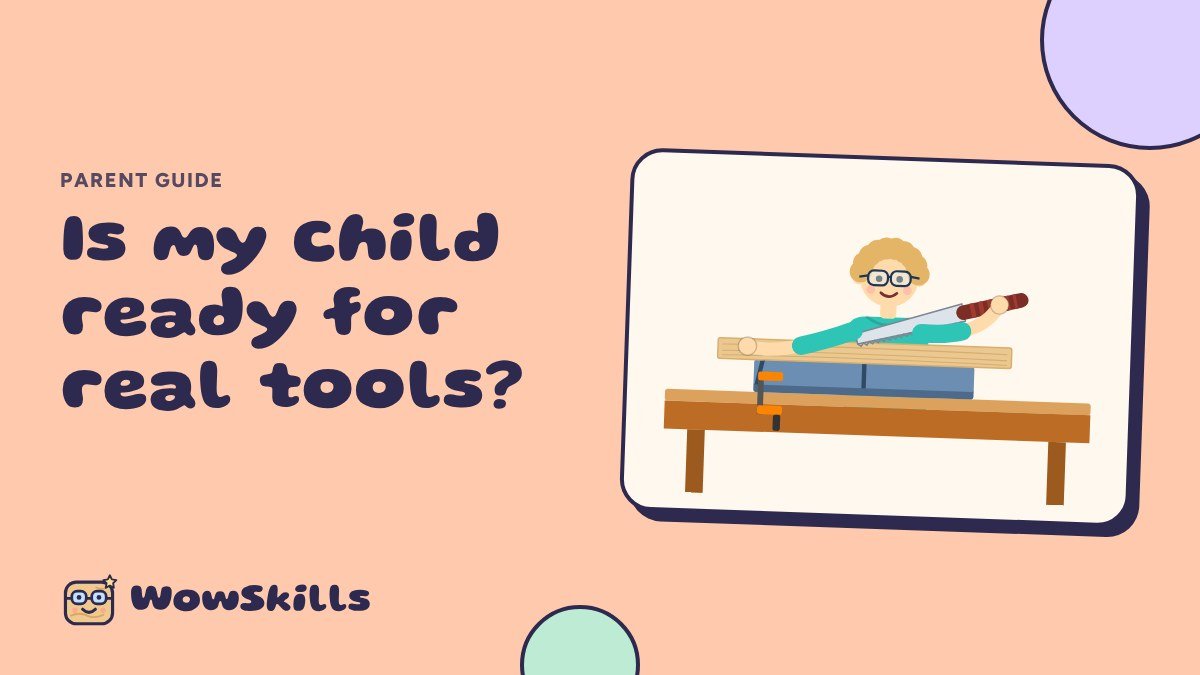
Many parents ask us the same thing: “Is my child really old enough to use a saw?” It is a fair question. Real tools can feel scary when you picture them in small hands. The good news is that most kids are ready for real tools earlier than we think, as long as the tools fit their age and an adult sets up the work safely.
Here is how to tell if your child is ready, which tools make sense at which age, and a simple project you can try at home this weekend.
Signs your child is ready
Age is only part of the picture. Watch for these signs instead:
- They can follow two or three steps in a row without help.
- They can wait for their turn and listen to a short safety talk.
- They like to take things apart, build with blocks or ask how things work.
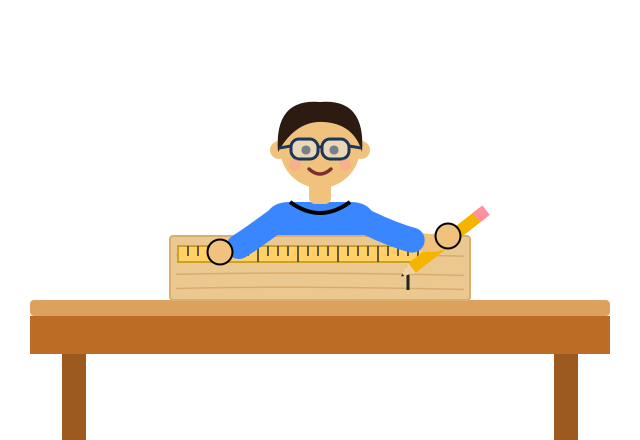
- They can hold a pencil firmly and draw a fairly straight line along a ruler.
- They can accept “stop” the first time you say it.
If your child shows most of these signs, they are ready to start. If not, that is fine. Start with sanding and painting, and add tools a little at a time.
Which tools at which age
Every child is different, but this is the order we use in our classes. Each step builds on the last one.
- Ages 5–6: sanding blocks, glue and paint, and hammering small nails with a clothespin holding the nail. The clothespin keeps fingers away from the hammer.
- Ages 7–9: a small saw in a miter box (the box guides the saw so the cut stays straight), a hand drill that you crank by hand, and a screwdriver. Kids this age can measure in inches and mark a cut line.
- Ages 10+: a pull saw with a clamp, a square for checking corners, and simple cut lists. Older kids can plan a project on paper and follow the plan on their own.
Notice what is not on this list: power tools. In our classes, power tools and glue guns are for the instructor only. Kids get plenty of “wow” from hand tools, and they learn more because they feel every cut.
The 5 safety rules we use
We teach the same five rules in every class. They are short enough for kids to remember and say back to you:
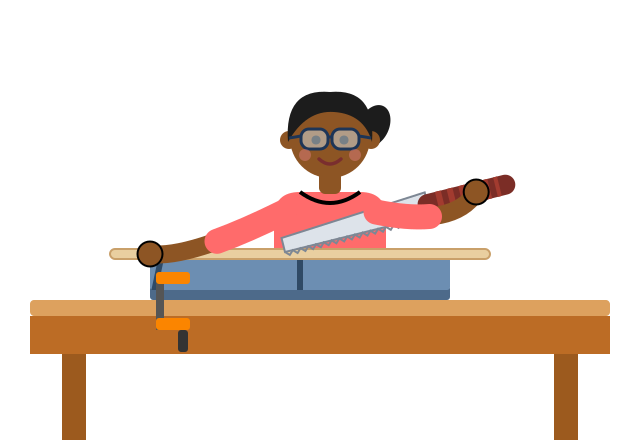
- Glasses on whenever a tool is out.
- The clamp holds the wood. Hands never hold wood you are sawing or drilling.
- Tools stay on the table. Never walk with a tool.
- Power tools and glue guns are for the instructor only.
- Closed-toe shoes. Long hair tied back.
Use these at home too. Put them on the fridge, and ask your child to read them out loud before you start.
A first project you can do at home this weekend
A pencil holder is a perfect first build. It takes about an hour and only needs a few things: a short piece of 2×4 wood (about 4 inches long), sandpaper, a hand drill with a drill bit a little wider than a pencil, a clamp, safety glasses and some paint.
- Sand all the sides until they feel smooth. Round the sharp corners a little.
- Mark three to five dots on the top, at least one inch apart. Use a ruler so your child practises measuring.
- Clamp the wood to the table. Glasses on. Your child cranks the hand drill straight down on each dot, about one inch deep. You can wrap tape around the drill bit to show how deep to go.
- Blow out the dust, then paint and decorate. Let it dry overnight.
The best part comes the next morning, when your child puts their pencils in something they made themselves.
Why a small class helps
Home projects are great, but many parents do not have the tools, the wood or the time to set up. A small class takes care of all of that. In our classes there are never more than 8 kids, so the instructor can watch every child, show each step first and help the moment someone gets stuck.
Kids also learn a lot from each other. When one child finishes a clean cut, the others want to try. That little bit of friendly energy keeps them going, and every child finishes a real project to take home.
Try a 2-week class
Our weekend classes are the easiest way to start: one 2.5-hour class on a Saturday or Sunday in Cambridge, all materials included. Planning a birthday? Every guest can build at a build party.